Homes with dampness or humidity often face unwanted growth. This can harm the structure and air quality. The US EPA says growth can start 24-48 hours after water gets in, so acting fast is key.
Knowing the warning signs and taking steps to prevent them is important. Using the right mold damage repair techniques is crucial for those dealing with dampness or humidity. Quick action helps stop further damage and keeps your home healthy.
Our guide will show you the top ways to mold repair in humid homes. You’ll learn how to handle the problem well.
Understanding Mold Growth in Humid Environments
Humid places are perfect for mold to grow, which is bad for homes and people’s health. Mold loves moist places, often because of too much humidity, leaks, or bad air flow.
The Science Behind Mold Proliferation
Mold starts with spores everywhere. When these spores find a wet spot, they grow and eat organic stuff. The National Institutes of Health (NIH) says mold grows where there’s too much moisture in buildings, especially where air can’t move well.
Common Moisture Sources in Modern Homes
Modern homes have many ways to get moisture, which leads to mold. These include:
- Leaky roofs or windows
- Poorly ventilated bathrooms and kitchens
- Clogged drains
- High indoor humidity levels
How Humidity Levels Affect Mold Development
Humidity is key for mold to grow. High indoor humidity means mold has a great place to grow. Keeping humidity between 30-50% helps stop mold. Using dehumidifiers and good air flow are good ways to control moisture.
Knowing these points helps homeowners fight mold. Fixing leaks, improving air flow, and controlling humidity are key steps. This way, homes stay safe from mold and are healthier places to live.
Warning Signs of Mold Damage You Should Never Ignore
It’s important to spot mold damage early to keep your home safe and healthy. Mold often grows in humid or water-damaged areas.
Visual Indicators of Mold Infestation
One clear sign of mold is visible growth. Look for black or green spots on walls, ceilings, and floors. These are common in places near water or where water damage has happened.
Non-Visual Signs: Odors and Health Symptoms
Mold can also be detected by musty smells and health issues. Symptoms like allergies, breathing problems, or feeling unwell without a clear reason might be mold-related.
Hidden Mold: Where to Look in High-Humidity Areas
Mold can hide in spots like behind walls, under floors, and in attics or crawl spaces. Check these areas, especially if your home has had water leaks or condensation problems.
| Area to Inspect | Signs of Mold |
|---|---|
| Behind Walls | Water stains, peeling paint, or warped wallpaper |
| Under Flooring | Musty odors, warped or buckled flooring |
| Attics and Crawl Spaces | Visible mold growth, condensation on surfaces |
Knowing these warning signs helps homeowners act fast to fix mold damage. This stops further damage and health risks.
Essential Safety Precautions Before Starting Mold Damage Repair
Before starting mold damage repair, safety is key. Mold remediation can expose you to harmful spores. It’s vital to protect your health with the right precautions.
Protective Equipment Requirements
To safely repair mold damage, you need the right gear. This includes:
- N-95 respirators or masks to filter out mold spores
- Goggles to protect your eyes from contaminants
- Gloves to prevent skin contact with mold and cleaning solutions
- Coveralls or disposable suits to prevent cross-contamination
Containment Strategies to Prevent Cross-Contamination
Containment is key to stop mold spores from spreading. Use plastic sheets to seal off the affected area. Consider using negative air machines to control the environment.
When to Call Professionals Immediately
If you face a big mold problem or are unsure, call professionals. They have the skills, tools, and experience for safe mold remediation. The NIH SOP document stresses the importance of containment and protective gear.
Remember, safety is always first when dealing with mold damage. With the right precautions and knowing when to ask for help, you can ensure a safe and successful repair.
Step-by-Step Mold Damage Repair Techniques for Walls and Ceilings
Fixing mold damage on walls and ceilings needs a careful plan. It includes checking, removing, and fixing the damage. This ensures a safe and mold-free space.
Assessment and Preparation Steps
First, you need to check how bad the mold damage is. This means:
- Figuring out what kind of mold it is
- Finding out where the moisture came from
- Getting all the tools and materials needed
Testing for Mold Types
Knowing the mold type is key to picking the right removal method. Black mold needs extra safety steps than others.
Gathering Necessary Materials
Having the right tools is crucial for fixing mold damage. You’ll need protective gear, cleaning solutions, and materials for fixing drywall.
Removing Mold from Drywall Surfaces
To remove mold from drywall, you need to clean and sometimes replace the damaged area. Cleaning works well for surface mold.
Cleaning Techniques for Surface Mold
For surface mold, mix water and bleach. Always wear protective gear to avoid mold spores.
Dealing with Deeply Penetrated Mold
If mold has gone deep into the drywall, you might need to replace the damaged part. This makes sure all mold is gone and won’t come back.
Repairing Severely Damaged Areas
For serious mold damage, fixing it means more than just removing mold. You also need to make sure the wall or ceiling is strong again.
| Damage Level | Repair Approach |
|---|---|
| Surface Level | Cleaning and Disinfecting |
| Deep Penetration | Replacing Drywall Sections |
| Structural Damage | Restoring Structural Integrity |
Finishing and Sealing Repaired Surfaces
After fixing the damage, you must finish and seal the area. This stops mold from coming back. Use mold-resistant paint and make sure there’s good air flow.
By following these steps, homeowners can fix their walls and ceilings. This makes their living space healthier.
Top Mold Removal Products That Actually Work
Choosing the right mold removal products is key for lasting results. Mold thrives in humid or damp environments. The right products can help eliminate it effectively.
Commercial Mold Killers and Their Applications
Commercial mold killers are top choices for severe mold problems. They often contain bleach or quaternary ammonium compounds. For example, bleach-based solutions can tackle many mold types. Yet, they can damage surfaces and need good ventilation.
- Concrobium Mold Control: This product kills mold and stops it from coming back.
- RMR-141: A strong mold and mildew remover that works on many surfaces.
Natural Alternatives for Mild Infestations
For mild mold issues or those who prefer natural solutions, there are options. Vinegar, baking soda, and tea tree oil are good natural choices.
- Vinegar: White vinegar fights fungi and can clean moldy areas.
- Baking Soda: As a paste, baking soda can soak up moisture and fight mold.
Specialized Solutions for Bathroom and Kitchen Mold
Bathrooms and kitchens are mold hotspots due to their moisture. There are products made to tackle mold in these areas. Look for ones specifically made for bathrooms or kitchens. They’re designed for the surfaces found in these rooms.
- Products with antimicrobial properties can stop mold from coming back.
- Mold-resistant coatings can be applied to surfaces to prevent mold growth.
By picking the right mold removal product, you can get rid of mold and keep it away. Always read the instructions and take safety precautions.
DIY vs. Professional Mold Remediation: What’s Better for You?
Homeowners often face a tough choice when they find mold. Should they try to fix it themselves or call a professional? The right choice depends on the damage’s size, safety concerns, and your budget.
When DIY Approaches Are Sufficient
If the mold is small (less than 10 square feet), you might be able to remove it yourself. The US EPA says small problems can be solved with the right safety gear and cleaning methods. Key steps for DIY mold removal include:
- Containing the affected area to prevent cross-contamination
- Using personal protective equipment (PPE) such as gloves, masks, and goggles
- Cleaning with a solution of water and detergent, followed by a disinfectant
- Drying the area completely to prevent future mold growth
Signs You Need Professional Intervention
Bigger mold problems or those in tricky spots like HVAC systems need a pro. Indicators that you need expert help include:
- Mold growth exceeding 10 square feet
- Mold in hidden or hard-to-reach areas
- Presence of toxic mold species like Stachybotrys
- Uncertainty about the extent of the mold growth
Cost Comparison and Value Assessment
DIY mold removal costs are mainly for materials and safety gear, which can be $50 to $500. Professional services, however, can cost $500 to $6,000 or more. While DIY might seem cheaper, professional remediation offers:
- Expertise in identifying and addressing the root cause of mold growth
- Specialized equipment for thorough removal and drying
- Guarantees for their work, providing peace of mind
Choosing between DIY and professional help depends on the mold’s severity, your comfort level, and budget. For a mold damage cleanup checklist, include steps for assessment, containment, removal, and prevention.
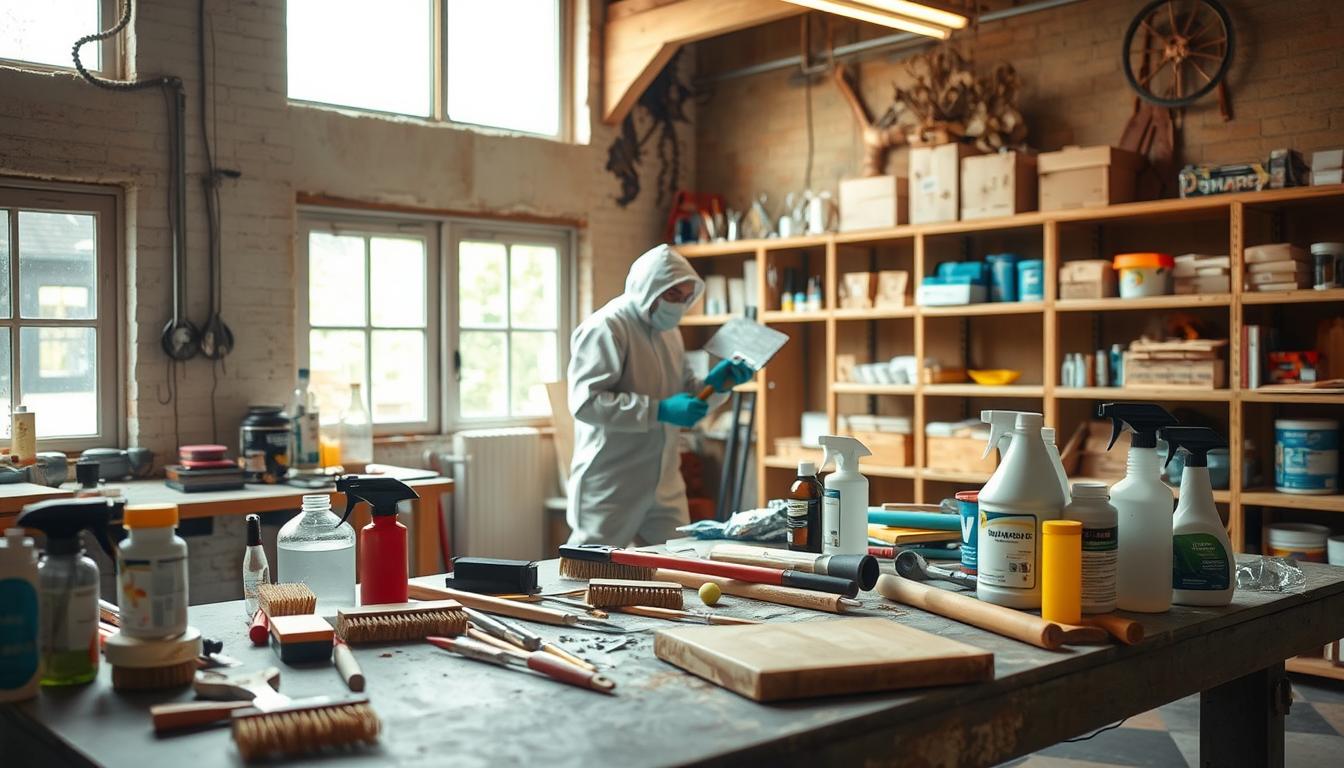
 is carefully scrubbing the moldy area with a stiff-bristled brush and a bucket of cleaning solution. The middle ground showcases various DIY mold removal tools, including a spray bottle, a putty knife, and a small shop vacuum. The background is hazy, with shadows and highlights suggesting a cluttered workspace. The overall mood is one of caution and determination, as the person takes on the task of mold remediation in a home setting.")
Preventing Mold Recurrence in High-Humidity Environments
Mold can keep coming back in humid places, but there are ways to stop it. Homeowners can use structural changes, better ventilation, and upkeep to fight mold. These steps help keep your home dry and mold-free.
Structural Modifications to Reduce Moisture
To stop mold, you need to lower moisture inside. Fixing the foundation and sealing leaks in walls and roofs helps a lot. Also, a good drainage system keeps water away from your home’s base.
Key structural modifications include:
- Sealing cracks and crevices in walls and floors
- Improving insulation to reduce condensation
- Ensuring proper grading around the home’s foundation
Ventilation Improvements for Problem Areas
Better air flow in wet spots like bathrooms and kitchens is vital. Using exhaust fans that go outside cuts down humidity. Remember to turn them on when you shower or cook.
| Area | Ventilation Improvement | Benefit |
|---|---|---|
| Bathrooms | Exhaust fans | Reduces humidity during and after showers |
| Kitchens | Range hoods | Removes moisture and cooking fumes |
| Basements | Dehumidifiers | Controls overall humidity levels |
Maintenance Routines to Prevent Recurrence
Keeping up with maintenance is crucial to avoid mold. Check for moisture, clean gutters, and make sure vents work right. Using mold-resistant products in wet areas also helps.
By following these steps, you can greatly lower mold risk in humid homes. Staying alert and maintaining your home is key to keeping it mold-free.
Best Dehumidifiers and Tools for Long-Term Mold Control
Controlling mold for the long term requires the right tools. Dehumidifiers and monitoring devices are key. They help keep your home mold-free, especially in humid areas.
Top Dehumidifiers for Different Home Sizes
The size of your home determines the dehumidifier you need. For small spaces, the Frigidaire FFAD7033R1 works well. But bigger homes need stronger units, like the LG LDE7033ST.

Moisture Meters and Humidity Monitors
Moisture meters and humidity monitors are also crucial. Tools like the ThermoPro TP65 track humidity levels. This keeps them safe and prevents mold.
Air Purification Systems for Mold Spore Reduction
Air purification systems are vital too. They remove mold spores from the air. Systems like the Levoit LV-H132 help keep surfaces mold-free. This makes your home healthier.
Using these tools together helps control mold. This way, you can keep your home mold-free and healthy.
Common Mistakes to Avoid During Mold Damage Repair
When fixing mold damage, it’s key to steer clear of common errors. These mistakes can make the repair not work or not last. They can also cause mold to come back.
Inadequate Protection and Containment Errors
One big mistake is not protecting and containing the area well enough. If you don’t, mold can spread to other parts of your home. It’s important to use proper containment strategies like plastic sheeting and negative air machines.
Improper Cleaning Methods That Spread Mold
Using the wrong cleaning methods can make things worse. Harsh chemicals or the wrong techniques can spread mold spores. It’s crucial to use appropriate cleaning solutions and methods made for mold removal.
Failing to Address the Root Cause of Moisture
Not fixing the moisture problem that caused mold is a big mistake. Just removing mold won’t stop it from coming back. You need to find and fix leaks, improve air flow, and use dehumidifiers.
| Mistake | Consequence | Solution |
|---|---|---|
| Inadequate Protection | Cross-contamination | Proper Containment Strategies |
| Improper Cleaning | Spreading Mold Spores | Appropriate Cleaning Solutions |
| Ignoring Moisture Source | Mold Recurrence | Fix Leaks, Improve Ventilation, Dehumidifiers |
Conclusion: Creating a Mold-Resistant Home Environment
To keep your home mold-free, you need a solid plan. This includes fixing any damage and using prevention methods. After dealing with mold, it’s key to repair your home to stop mold from coming back.
The US EPA guide stresses the importance of quick action and the right methods. This ensures your home stays healthy and free from mold. By following the steps in this article, you can keep your home safe from mold.
Knowing why mold grows and taking safety steps are crucial. Using the right removal methods also helps. Regular upkeep, like using dehumidifiers and air purifiers, is vital. These actions help keep your home safe and healthy.